The Best Way to Make Coffee: Camping Edition!
Preparing Coffee in the Great Outdoors
You wake up in the woods, the morning air is crisp, your sleeping bag is cozy, and your stomach is rumbling. What’s missing? That perfect cup of hot coffee to warm your hands and kickstart your day! But just because you’re off the grid doesn’t mean you have to settle for terrible coffee or no coffee at all!
This guide is for anyone who believes that good adventures deserve great coffee! We’ll walk you through every way to make the perfect morning cup! So, let’s discover the best way to make coffee, camping edition!
Key Points:
-
There’s a brewing method for every camper. From instant coffee to French press and portable espresso makers, your ideal method depends on your gear, group size, and how much effort you’re willing to put in.
-
Preparation is everything. Pre-measured grounds, lightweight gear, and a smart water plan will turn your trail coffee from “meh” to magical, even at 5,000 feet.
-
MadCups make it ridiculously easy. No gear, no grind, no cleanup; just bold, flash-crystalized coffee ready in seconds. It's the easiest way to sip real coffee in the wild!
Best Methods to Make Coffee while Camping
Let’s get into the good stuff: how to actually make that perfect cup at camp. Whether you’re looking for convenience, flavor, or just that satisfying moment of peace with a mug in your hand, there’s a brewing method that fits your style (and your pack weight!).
As such, here’s a rundown of the best ways to make coffee while camping! But before we start, keep in mind that you should adjust the coffee to water ratios based on your preferences, as well as depending on how many cups of coffee you’re aiming for.
1. Instant Coffee
Oh well, it’s not the best, but definitely the easiest and most convenient for camping. It is basically dehydrated coffee crystals that need to be rehydrated with water. And all you need to prepare it is instant coffee, a kettle, and water. Plus, instant coffee is lightweight, so you can lower the weight of your backpack and even save some space.
What you’ll need: a mug, hot water (from a camp stove, Jetboil, or fire), and high-quality instant coffee packets
Time: 30 seconds to 1 minute.
Best for: Ultralight backpackers, minimalist campers, or those short on time and gear
How to prepare:
-
Boil about 8 oz of water.
-
Pour the water into your mug.
-
Add 1 packet or 1–2 teaspoons of instant coffee.
-
Stir and enjoy.
Tips:
-
Opt for specialty instant brands for better flavor.
-
Add powdered creamer, a pinch of salt, or even a dash of cinnamon to make it taste better.
2. Cowboy Coffee
If you (or your stomach!) don’t like instant coffee, it’s time to take this entire process to a whole new level: cowboy coffee. In fact, preparing coffee with the cowboy method requires basically the same equipment you’d need to prepare instant coffee. The difference is that you will need to bring coffee grounds along. Or you can grind your whole-bean coffee at home, just make sure to aim for a super coarse grind.
On the downside, it may take you some time to truly experience the richness of cowboy coffee: if you get it wrong, you may be “enjoying” an over-extracted, somewhat bitter coffee. Plus, the coffee grounds can enter your cup.
What you’ll need: a kettle or camping pot, coarse-ground coffee, fire or stove.
Time: 7–10 minutes.
Best for: Traditionalists, group campers, fans of bold coffee, those who don’t have a camping coffee maker
How to prepare:
-
Heat water to a near-boil.
-
Remove from the heat, and let the water cool for a bit.
-
Add coffee grounds, stir, and return to low heat.
-
Let the coffee simmer. After a few minutes, the grounds will start to sink.
-
Drizzle some cold water on top.
-
Remove from the heat and slowly pour the coffee into cups. Try to avoid disturbing the coffee grounds at the bottom.
Tips:
-
Don’t over-stir or over-boil—it’ll turn bitter fast.
-
If you want the true cowboy coffee experience, you can also use the cheesecloth method. All you have to do is put the coffee grounds in the cloth, tie it with a string, and throw it into the pot. You can also crack an egg over the grounds, bring to a boil, and then let it steep for 5-10 minutes.
3. Mad Coffee Cups
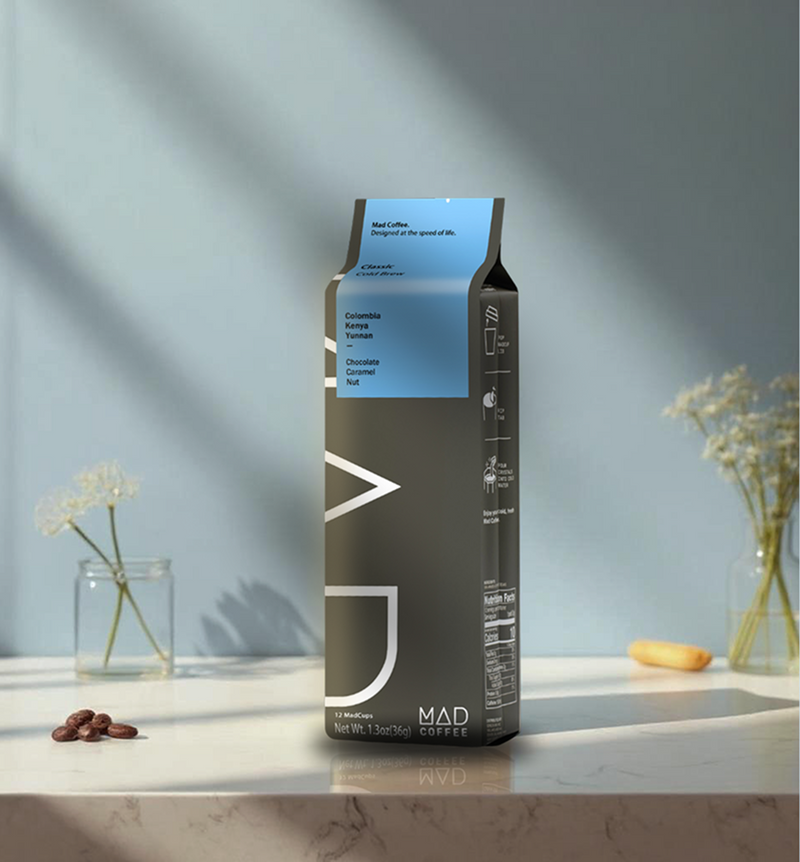
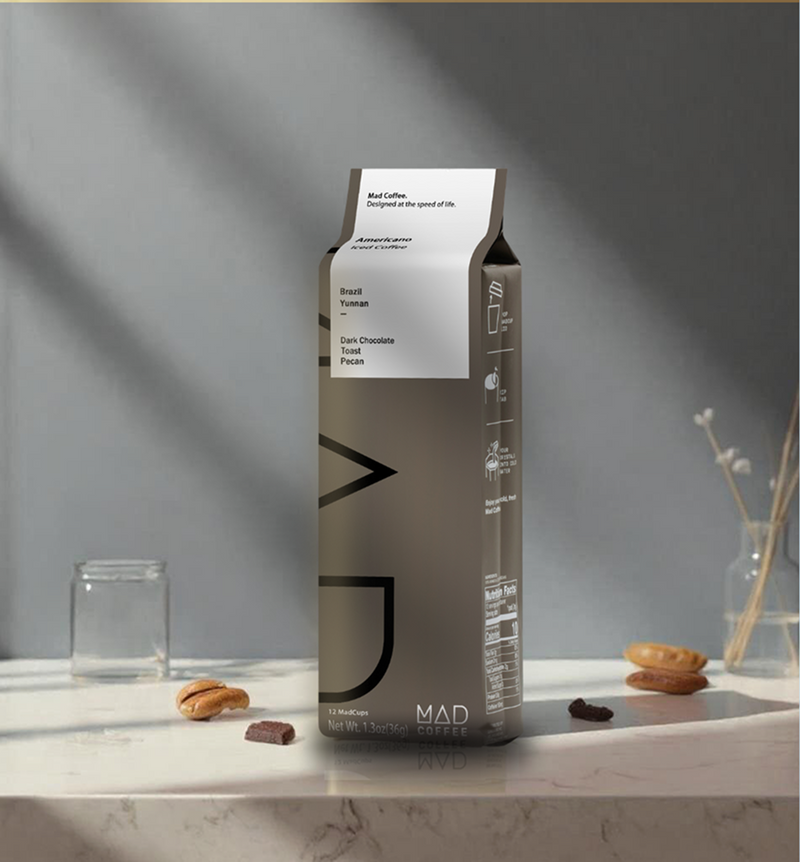
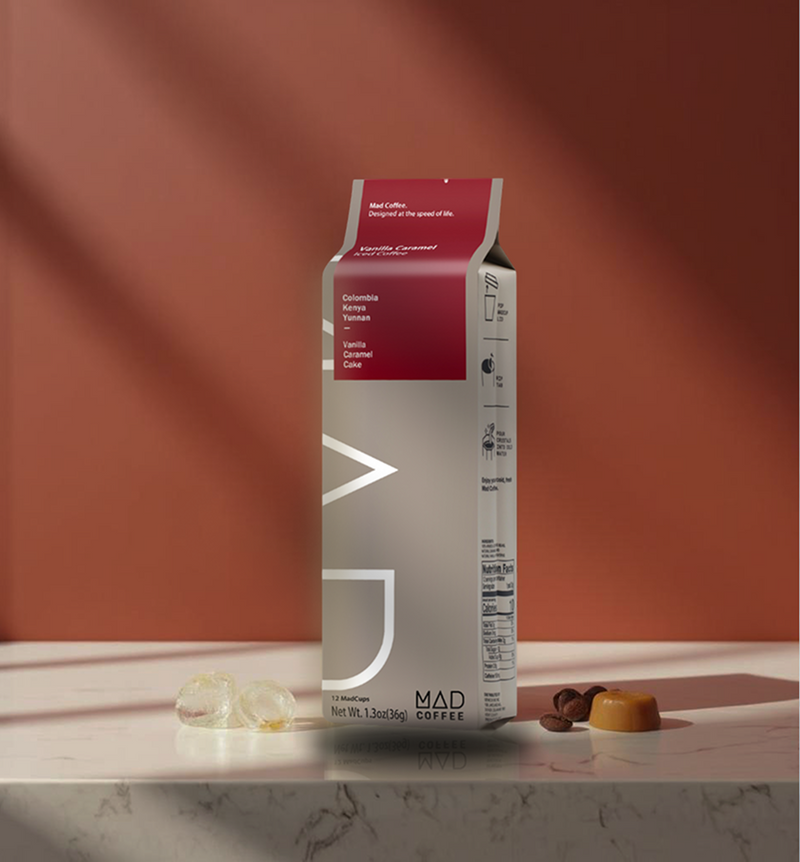
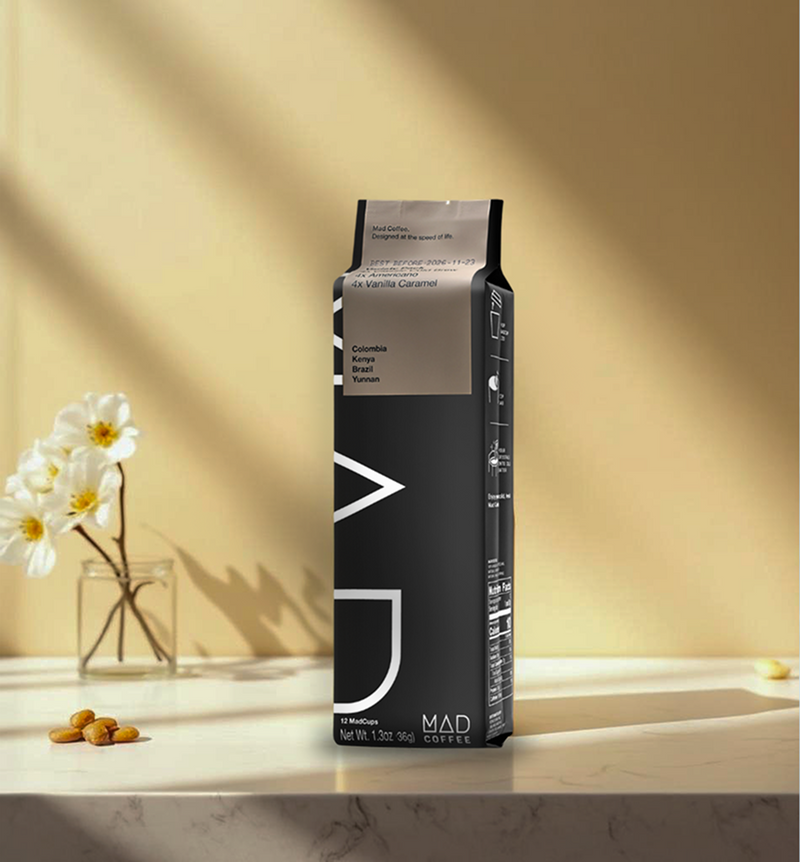
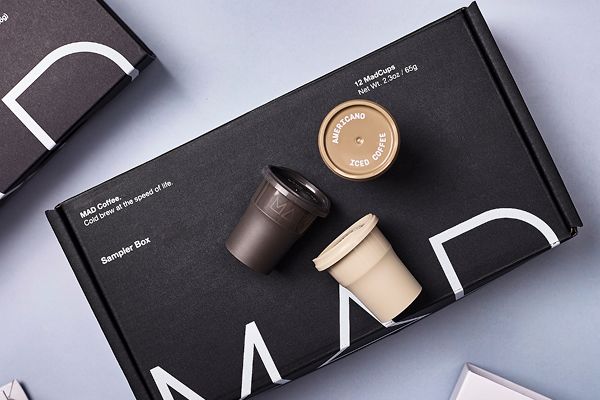
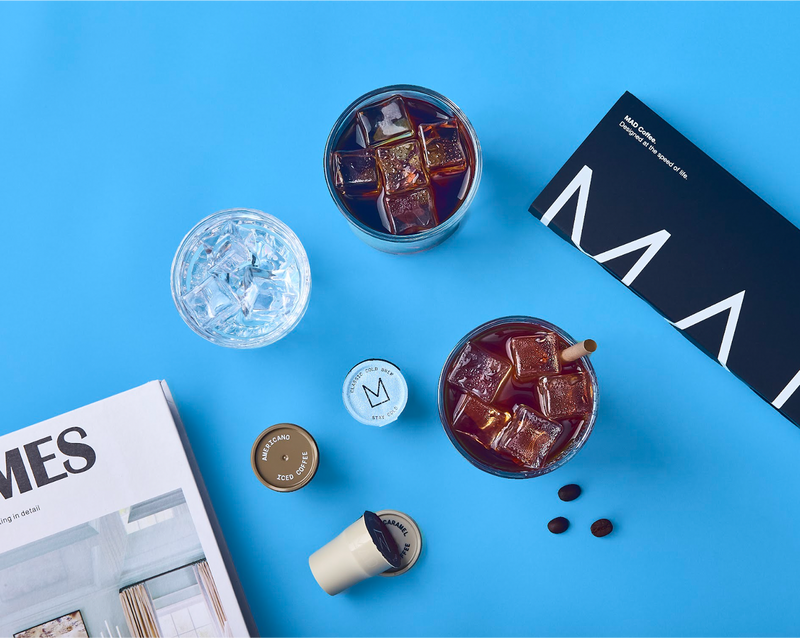
Mad Coffee Cups are built for the outdoors! Of all the methods mentioned in this article, this is the easiest and most compact way to brew coffee. And quality is not sacrificed: MadCups deliver delicious cups of coffee!
Plus, with Mad Coffee, it’s coffee time whenever you say it’s coffee time! No steeping, filtering, or measuring required. And still you get premium coffee that tastes as fresh as ever! How is this possible, you might be wondering, right?
Let us present to you our 100% compostable, microplastics-free MadCups filled with Arabica coffee that was brewed fresh and then flash-crystalized using our LyoExtract™ tech. In other words, it was cryogenically frozen to preserve flavor. MadCups contain no additives or fillers, just 100% Arabica coffee that has been lab-tested for purity and is Direct Trade sourced.
What you’ll need: a MadCup, cold or hot water, a cup
Time to brew: just a few seconds
How to make coffee while camping using a MadCup:
-
Pour approximately 7-10 oz of water (cold or hot) into a cup.
-
Pop the MadCup lid and rip its tab.
-
Pour the coffee crystals into the water.
-
Stir or shake.
-
Enjoy!
4. Pour Over Coffee
Have you ever heard of drip coffee? It’s basically when you pour water over coffee grounds by hand. Before falling into the server, the water passes through the coffee.
This type of coffee can be easily prepared with a filter cone that is placed above the cup. The result is a high-quality cup of coffee that is as delicious as a V60 coffee prepared by your local barista! However, keep in mind that you can only brew coffee for one person at a time with this method!
What you’ll need: collapsible or reusable dripper, paper filter (if needed), a coffee mug, kettle, and medium-fine ground coffee.
Time: 5–7 minutes.
Best for: Coffee lovers with a little patience and space in their pack.
How to prepare:
-
Boil water and let it cool for 30 seconds.
-
Place the dripper on your coffee mug and insert the paper coffee filter (if needed).
-
Pour a bit of water through the filter, then throw the water away.
-
Add ~2 tbsp of medium-fine ground coffee into the center of the filter
-
Pour a quarter of the boiled water over the grounds. This will activate the coffee, releasing all those delicious aromas you can’t wait to delight in!
-
Let it sit for about 30 seconds, and then slowly pour the rest of the water over the coffee grounds. The key word is slowly.
-
If possible, pour the water in a circular motion, working outwards from the center.
-
Wet the grounds with a small amount of water (bloom) for 30 seconds.
Tips:
-
Try one of those travel pour over drippers, which have an ultra packable design, created specifically for people who don’t have too much extra space. The only disadvantage is that you’ll need an appropriately sized cup that matches your travel pour-over dripper.
5. AeroPress Coffee
The AeroPress is a great camping coffee maker! It’s like that multitool you always bring camping: compact, reliable, and way more capable than it looks. It’s a go-to for coffee lovers who want a clean, rich cup fast, without the bitterness or grit.
The AeroPress is a camping coffee maker that uses gentle air pressure to push hot water through coffee grounds (much like the pour-over coffee method described above). This brewing method creates a bold but tasty cup of coffee with low acidity. In fact, the AeroPress is a favorite among travelers, as it’s known to produce one of the cleanest brews you can get on the trail without the bitterness you sometimes get from cowboy coffee.
What you’ll need: AeroPress or AeroPress Go (compact travel version), paper or reusable metal coffee filters, medium-fine ground coffee (generally, it needs to be a bit finer than drip, but not espresso-fine), hot water, a mug or cup to brew into
Prep time: 2–4 minutes
Best for: Gearheads, hikers who want strong but smooth coffee fast
How to make coffee with an AeroPress (standard method):
-
Insert a filter into the cap and rinse it with hot water.
-
Assemble the AeroPress over your coffee mug.
-
Add 1 to 2 scoops (about 15–17g) of medium-fine coffee to the chamber.
-
Pour in hot water until the chamber is full.
-
Stir for 10 seconds.
-
Insert the French press plunger and press slowly: it should take about 20–30 seconds. Pause if you feel resistance.
-
That’s it. Sip and smile.
Tips:
-
Try the inverted method: flip the AeroPress upside down to steep the grounds longer before pressing. This gives you more control over strength and flavor.
-
Travel tip: the AeroPress Go version fits into a cup with space for filters and a stirrer: super compact for backpacking.
-
Cleaning is instant: just pop out the puck of ground coffee, rinse, and you’re done.
6. Moka Pot Coffee
Want to make camp coffee that punches a little harder than a drip but doesn’t require an espresso machine? Try the Moka pot. This one’s perfect for fireside mornings, making two cups for your tent buddy, or slowly sipping coffee while watching the sun come up!
It might sound a bit old-school, but believe us, there’s at least one Moka pot in almost any Italian household! And it brews excellent coffee! It delivers bold, concentrated coffee that’s somewhere between espresso and strong drip.
The Moka pot is a stovetop espresso maker. It brews by passing boiling water pressurized by steam through finely ground coffee. This brewing process produces a rich, dense cup with a creamy mouthfeel.
What you’ll need:
-
A stovetop Moka pot (6-cup is great for sharing; 1- or 3-cup for solo camping trips)
-
Fine grind coffee (not quite as fine as espresso, but finer than drip)
-
Heat source (camp stove, grill, or a stable grate over a fire)
-
Cold water
Time to brew: 5-8 minutes
Best for: campers who love rich, dark coffee; morning people with a taste for tradition
How to brew coffee with a Moka pot:
-
Fill the bottom chamber with water. Stop just below the safety line.
-
Fill the filter basket with finely ground coffee (level it off, but don’t tamp).
-
Assemble the Moka pot and place it over medium heat.
-
The water will boil, and coffee will begin bubbling into the top chamber.
-
When the top starts to gurgle and hiss, remove from heat. You’re done.
-
Let it settle for a minute, then pour and enjoy.
Moka pot tips ips:
-
Avoid over-heating: high heat = over-extracted, bitter brew.
-
Use filtered water, especially if your camp water source is hard or mineral-heavy.
-
Don't tamp the coffee: unlike espresso, tamping slows the water flow too much here.
7. French Press Coffee
The French press is kind of the comfort food of coffee. And it’s a camp classic for a reason. It’s sturdy, simple, and makes a good cup of coffee that’s hard to beat. While a French press is slightly bulkier than some other options, there are modern travel presses that can be easily fitted into a backpack.
But how exactly does a French press work? Well, it’s a brewing method where coffee grounds steep in hot water before being separated with a mesh plunger. The same method is often used for tea-making.
What you’ll need:
-
French press (look for camping-specific models made of stainless steel or BPA-free plastic)
-
Coarse ground coffee
-
Spoon or stir stick
-
Hot water
-
Optional: an integrated cook system with a French press attachment, like the Jetboil Coffee Press
Time to brew: 5-7 minutes
Best for: flavor seekers, group campers
How to brew coffee with a French press:
-
Add coffee. Aim for a ratio of 1:15 coffee to water.
-
Pour hot water over the grounds and stir gently.
-
Add the lid and depress the plunger just above the water line.
-
Let it steep for 4 minutes (or longer for a stronger brew).
-
Slowly press the plunger down until it hits the bottom.
-
Pour and enjoy immediately. Don’t let it sit, or it’ll over-extract.
French press tips:
-
Use a double-walled press: it keeps camp coffee hot longer, which is handy at altitude or in cold temps.
-
You can also use this method to prepare American-style coffee
-
Don’t use finely-ground coffee: finer grinds clog the mesh and make for muddy coffee.
-
Clean up soon after brewing: grounds left in the press can sour the flavor or stain the gear.
8. Portable Espresso Makers
Don’t want to lower your coffee standards just because you’re off-grid? Get a portable espresso maker: it’s totally worth it, we promise! These little devices pack the punch of an espresso machine into a compact, trail-ready form. You’ll be able to enjoy a smooth, rich espresso with crema wherever you go, whether you’re halfway up a mountain or at a national park picnic table!
These hand-powered espresso makers use pressure to push hot water through finely ground coffee. You get a concentrated shot that rivals what you’d get at your favorite cafe!
What you’ll need: a portable espresso maker (Wacaco Nanopresso, Flair Espresso, etc.), espresso-fine ground coffee (or compatible pods, depending on the model), hot water, a mug or espresso cup
Time to brew: 3-5 minutes (plus time to boil water)
Best for: espresso lovers, ultralight travelers with a taste for bold coffee
How to brew with a portable espresso maker:
-
Add hot water to the water chamber (most hold 50-80 ml).
-
Scoop finely ground coffee into the filter basket and tamp lightly.
-
Assemble the device according to its instructions.
-
Pump or twist to generate pressure.
-
Watch the espresso flow: thick, creamy, and aromatic!
-
Sip straight or turn it into a trail cappuccino with a bit of frothed milk.
9. Campfire Percolator Coffee
The campfire percolator is nostalgic, satisfying, and kind of romantic! But it also brews a solid, strong cup that’s perfect for slow mornings around a smoky fire. It’s old-school, yes. But totally worth it! If used right, it holds its own against fancier gear!
A percolator brews camp coffee by continuously cycling boiling water through coffee grounds using steam pressure. It’s housed in a kettle-like device with a built-in basket. The result is a hot, bold brew with deep flavor, a bit like diner coffee with a wilderness twist! Plus, it’s perfect for groups!
What you’ll need: a campfire percolator, preferably stainless steel, coarse ground coffee, water, fire, camp stove, or grill, a mug that can handle hot pours
Time to brew: 10 minutes
Best for: larger groups, traditionalists
How to prepare coffee with a percolator:
-
Fill the bottom with cold water up to the desired fill line.
-
Add coarse-ground coffee to the basket.
-
Assemble the percolator and place it over a medium fire
-
Watch through the clear knob: when it starts bubbling, reduce the heat.
-
Let it perk for around 7 minutes, depending on how strong you want it.
-
Remove from heat and let the grounds settle before pouring.
Percolator tips:
-
Don’t rush the perk. Fast bubbling means burnt coffee. Keep it steady and slow.
-
Clean between uses. Oils and buildup can make your next brew taste sour.
-
Level the grate. Nothing ruins coffee faster than tipping it into the fire!
10. Cold Brew Coffee
Cold brew is all about flexibility. No gear? Not a problem. No heat? Doesn’t matter? It’s your anytime, anywhere, ultra-smooth coffee fix. But there’s a catch. You either need to prepare it beforehand at home, or you’ll need to prepare it in the wild, which takes 12-24 hours. Not such a big deal, though. You can let it steep while you sleep! The next morning, you’ll enjoy a smooth, mellow, and naturally sweet coffee! And if you’re camping in hot weather, the better!
Cold brew coffee is made by steeping coarse coffee grounds in cold water for 12-24 hours. The result is a bold, slightly sweet concentrate that’s less acidic. Most coffee lovers dilute this concentrate with water or milk.
What you’ll need:
-
A jar or cold brew bottle
-
Coarse ground coffee
-
Cold or room-temperature water
-
Fine mesh filter, paper filter, or clean cloth for staining
-
Cup and optional extras (ice, milk, sweeteners)
Time to brew: 12-24 hours steep time
Best for: travelers in hot climates, prep-ahead planners, iced coffee fans
How to brew cold brew coffee:
-
Add 1 cup of coarse ground coffee to 4 cups of water in a jar (adjust the coffee to water ratio based on how strong you want your concentrate).
-
Stir well, seal, and let it steep in a shaded, cool spot.
-
After 12-24 hours, strain through a mesh sieve or cloth filter.
-
Pour over ice, add milk or water for a better-tasting coffee, and enjoy!
Cold brew tips:
-
Make it ahead: brew it the night before your hike and it’s ready when you wake up.
-
Keep it chilled: store in a cooler or insulated bottle to keep it fresh.
-
Concentrate ratio: you can make it stronger and dilute it later to save space.
How to Choose the Right Coffee Equipment for Camping
Before you toss your kitchen favorites into your pack, take a second to ask: Is this really built for the outdoors? The best camp coffee gear hits that sweet spot between lightweight, durable, and dead-simple to use. Luckily, we’re here to help with some tips!
1. Brew Style
Are you a strong-and-short espresso type? A slow-sipper? Do you like prepping the night before, or brewing fresh every morning? Your method will determine your setup:
-
Espresso people → Portable espresso maker
-
French press or AeroPress fans → Choose gear with solid seals and easy cleanup
-
Cold brew lovers → Prioritize space to store it overnight
-
Minimalists → Go for steeping bags or instant
-
Traditionalists → Cowboy coffee or a percolator
2. Group Size
Solo camping trips? Go light: AeroPress, pour-over cone, MadCups, or instant.
Two or more? Look at larger capacity: French press, percolator, moka pot.
3. Weight and Packability
Backpacking? Skip anything heavy or bulky. Think AeroPress, MadCups, foldable pour-over cones, or ultralight setups.
Car camping? You’ve got room to bring that stainless steel French press or moka pot!
4. Durability
No glass. (Unless it’s inside something armored.)
Silicone, stainless steel, BPA-free plastic: all great.
Avoid anything fiddly or fragile. The fewer parts, the better.
5. Clean-up
Choose devices that are easy to rinse and wipe, especially if you don’t have access to lots of water.
Removable filters or mesh strainers > paper filters (which get soggy and messy).
Prep Tips for Coffee Lovers: How to Make Coffee Easy on the Trail
Making great coffee at camp is 90% prep. So, do the work before you leave, and your mornings will be as smooth as your brew! Here’s what you need to consider:
-
Pre-measure your coffee. Portion out your daily doses in resealable bags or mini containers. Label them if you’re using different grinds for different methods.
-
Grind ahead (or bring a grinder). If possible (and if you won’t be in the wild for long), grind coffee before you leave. Match the grind to your brewing method (see grinder section below). If you prefer your coffee made with freshly-ground coffee, then you can bring a manual grinder.
-
Pack a compact brew kit–your own coffee bag! Keep it all in one dry bag or case:
-
Coffee
-
Brewer (and filter if needed)
-
Cup or insulated mug
-
Stirrer or spoon
-
Small towel or cloth
-
Waste bag for grounds
-
Bring more than you need. Double up on filters or instant packs. Bring extra in case of spills or in case one of your friends suddenly doesn’t like tea anymore!
-
Water plan. Know where you’ll get water, how you’ll boil it, and how much you’ll need each day.
-
Pack a coffee mug that keeps your coffee warm!
What Can You Use to Boil Water While on a Camping Trip?
Good coffee starts with hot water, of course. But you won’t need hot water just for coffee, which is why it’s extremely important to have this settled. Here are your best bets, depending on your setup:
-
Backpacking stove (Jetboil, MSR PocketRocket). It’s lightweight, fast, and reliable. It’s perfect for one or two caps at a time.
-
Camp stove (propane-based): more stable and powerful; perfect for groups or larger percolators; heats quickly, allows for simmer control.
-
Campfire: the most old-school, the most scenic! It takes more time and patience, but the experience is absolutely worth it! Keep in mind that you’ll need fire-safe cookware. Plus, campfires aren’t always allowed, so make sure to check the regulations for your campsite.
-
Electric kettle. This is only an option if you have access to electricity or solar battery packs. But it’s great for comfort-based setups or vanlife.
What About a Coffee Grinder?
If you’re serious about your brew, and you want that just-ground aroma (which is unmatchable!), then yes, absolutely, bring a grinder! But choose wisely. You’ll need a grinder that doesn’t need electricity to work. It needs to be durable, compact, and lightweight. Some portable coffee grinders preferred by travelers include the JavaPresse coffee grinder and the Hario “Skerton” Pro grinder.
Additionally, make sure you can adjust the grind size for all methods. Keep in mind that these models are usually slower than electric devices. If you’re fine with pre-ground coffee, you can prepare it at home. This is a great solution if you’re going on a short camping trip or don’t want the extra hassle.
Grind size basics:
-
Fine: Espresso
-
Medium-fine: AeroPress, Pour-over, drip
-
Coarse: French press, percolator, cold brew, cowboy
The Science of Better Flavor in the Wild
Did you know that coffee that is prepared and enjoyed outdoors can taste worse? Here are some reasons:
-
Altitude affects smell perception, which dulls flavor (because flavor is mostly smell).
-
Dry air affects taste buds: everything may taste more bitter or metallic.
-
Plastic or metal containers can taint flavor over time, especially in heat.
Solutions:
-
Add a pinch of salt to your coffee. It reduces bitterness and enhances natural sweetness.
-
Brew with slightly cooler water to avoid over-extraction, especially if your coffee beans are pre-ground.
-
Use ceramic-lined mugs or titanium cups that don’t retain flavor (some stainless mugs trap old oils).
How to Make Your Camp Coffee Unique
If you’re not a fan of bold, black coffee, you’re probably wondering what you can pack to make your cup taste differently every time, right? Well, here’s what you can bring along:
-
Dried citrus peel or spices. They’re lightweight and compact. You can pack dried orange peel, cinnamon sticks, or cardamom. Add them to your grounds before brewing (not suitable for all coffee brewing methods though).
-
Butter or coconut oil. Bring a mini container of ghee or MCT oil. It will turn any cup into a high-calorie energy boost (butter coffee fans, you know)!
-
Maple syrup packets. Easier than sugar, more natural than flavored creamers. Works perfectly with cold brew, French press, or Mad Coffee.
Final Thoughts
Wherever your next adventure takes you, whether it’s a solo hike into alpine silence or a noisy campsite full of laughing friends, we hope your days start strong, hot, and caffeinated with a hot cup of tasty coffee!
May your freshly-brewed coffee be bold, your gear stay light, and your campfire conversations last long after the last sip!
And if you want the easiest, most delicious coffee to bring on the trail, grab a pack of MadCups. Just add water, hot or cold, and enjoy high-quality coffee wherever you are! See you out there– and don’t forget your mug!
FAQs
How to make fresh coffee while camping?
You can make fresh coffee while camping with a method like French press, pour-over, or AeroPress with freshly ground coffee. You can also use MadCups for high-quality coffee prepared in just a few seconds.
How to make coffee for a group while camping?
To make coffee for a group while camping, use a large percolator or French press to brew multiple servings at once. Boil enough water and adjust the coffee-to-water ratio based on your group’s size. You can also prepare cold brew beforehand or use MadCups, which deliver high-quality coffee that can be prepared within seconds.
How to make coffee without a coffee maker while camping?
You can make coffee without a coffee maker while camping with eco-friendly MadCups. They contain 100% Arabica beans that have been cryogenically frozen to preserve flavor. All you need is a MadCup and cold or hot water. The coffee is done in just a few seconds!
Is a percolator better than a French press for camping?
A percolator is better ideal for large groups, but it can over-extract and taste bitter. A French press offers smoother coffee and is easier to use, but it’s not as durable.
How to pack coffee for camping?
To pack coffee for camping, store ground or whole fresh beans in an airtight, waterproof container to preserve freshness. Pre-measure portions in small bags for convenience and pack everything you’ll need for the brewing method you’ll use.
